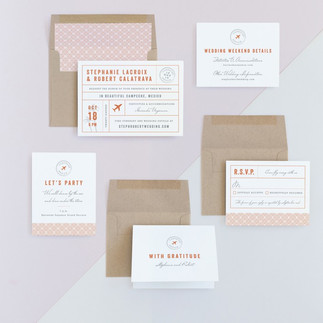
Wedding invitations 101
- Lynea D'Aprix
- Feb 28, 2023
- 5 min read
Updated: Apr 22, 2025
You've got mail!
As you prepare for your special day, let your Save the Dates, Wedding Invitations, and Wedding Stationary set the tone for your celebration. Custom-designed wedding invitations are perfect for expressing your style, informing your guests, and making a cohesive and memorable impression... plus they are gorgeous addition to your wedding detail photos! Whether you’re looking for something classic and traditional or whimsical and bold, these details help add personality and flare to your day.
I have put together this 101 guide with my top tips for "all things invites". If you scroll to the bottom you can see how I apply my tips into practice with some real examples!
The Basics:
Before we dive into the details I wanted to review some of the basics and where to start, as I often see couples' heads spin when we begin discussing invitation details.
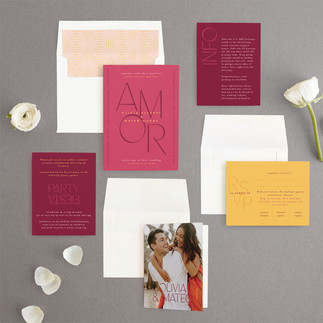
There are a variety of options available when it comes to wedding invitations. There are e-invites, digital invites, websites, and printed invitations. There is no single right or wrong way, however, I do recommend exploring the different options and using a program or company that can easily integrate the option(s) that you are wanting to use. A great example, and a company I often use, is minted weddings. They easily and seamlessly allows you to build websites, send out save the dates, and paper invites all tailored to you with cohesive designs. (They also have table signs, seating charts, escort cards, and lots of other wedding stationary items!)
Step 1: Determine your wedding theme and colors.
If needed, you can reach out for support from your wedding planner, a wedding concierge service or my Pinterest to help you out! Friendly reminder- you do not have to be "unique", you do not have to pick something you feel everyone else will love, what is most important is selecting something you and your partner love, that may be meaningful to both of you!
Step 2: Order samples
If possible, I highly encourage you to order free sample kits so that you are able to see a variety of different colors, textures, and options in person before making the final decision! Hot tip- Minted weddings will send you a sample kit (see below!) And it is so thorough!
Step 3: Begin to curate options for the different stationary or digital components including; Save the dates, Invitations, RSVP cards, websites, and reception stationery. I have included a few additional details about each below:
1. Save the Dates
What: Save the Dates serve as the official wedding announcement and is a great way to showcase engagement photos or provide a sneak peek of your theme! Eek!
When to send: For destination weddings or weddings during peak travel or vacation times, it is often recommended to send out Save the Dates 8-12 months in advance and for local events 6 months in advance.
Information to include: Date, location (at this point specific venue does not have to be included), and wedding website.
2. Wedding Invitations
What: The formal invite to the big day. The invite will typically include all the relevant information or direction on where to find all the relevant information, such as a website.
When to send: The formal invitation for weddings is typically sent 4-6 months in advance to allow guests enough time to make travel arrangements.
Information to include- Date, time, location, venue, how to RSVP, when to RSVP by, registry information, and wedding website (if applicable).
3. RSVP Cards or Wedding Website
What: RSVP information should be included either on your invitation (eg. a link to the website) or an insert card with a return envelope and postage.
When to send: With the formal invitation, destination wedding RSVPs are often due 2-3 months prior to the event. For local events, invitations are typically sent out 2-3 months in advance and RSVPs are due 1 month prior. It's encouraged to make the deadline 2 weeks before you REALLY need it - because there will always be someone who doesn't make the deadline.
Information to include: The names of each individual and escort invited or the number of seats, meal choices and/or dietary preferences, when RSVP is due, and any other fun questions such as a favorite song.
4. Details card and inserts OR Wedding Website
What: The specifics and details of the wedding including, where to stay, transportation, travel information, children policy, and dress code.
When to send: With a formal invitation include your wedding website and direct guests to RSVP there.
Information you may include: Travel arrangements card, accommodations card, directions for getting to the venue, RSVP card and envelope with return postage, pre-wedding event card (welcome dinner), post-wedding event card (morning after brunch), attire or dress code card.
5. Reception Wedding Stationary
What: Includes ceremony program, seating chart, escort cards, place cards, table numbers, menu cards, favor tags, bar sign, bathroom box sign, and any other signage you may be using.
6. Thank you Cards
What: To thank guests for celebrating with you, traveling to celebrate, and for any gifts you have received.
When to send: Within 3 months of your wedding
The Design Process
Now that you have reviewed the basics, ordered samples, and reviewed a few different companies, next up is the design process. Here are a few steps that can help get you from start to finish.
Type of invite: Printed invite, e-invite, website? Determine what you would like to use for each component. For example- paperless invite for the Save the Date, printed for the formal invitation, and website for RSVPs and printed for thank you's.
Theme: Think of your invitation as a preview for your wedding. For example, if your wedding is black & white and minimalistic, you wouldn't typically send out a brightly colored and wild patterned invitation. Think about your wedding colors, shapes, season, etc to help you find the right invitation theme.
Design: Next is deciding on the design. If printed, you may select between:
Classic- a traditional rectangle invitation (5"x7") with separate inserts
Petite- a smaller, chic invitation (4.35"x6")
Four-panel invitation- all wedding invitations spaced out over the folded four panels
All-in-one invitation- all the info. unfolds on one panel.
Customizations and Accessories: Although all of the following are extras, they can be dainty, beautiful, or fun options to spice up your invitations! Options may include:
Belly bands
Overlays
Ribbon
Envelopes
Etiquette:
Send out invitations to allow enough time for guests to make arrangements (whether travel, time off work etc.)
Include all necessary information. Be clear. Where to RSVP, are children invited? Who all is specifically invited?
Avoid abbreviations. Typically, when printing formal invitations you would avoid any abbreviations such as 101 St SW and instead print out 101 Street Southwest
Examples:
Now that we have discussed the details, let's put what I preach into practice with some examples!
Tangled theme:
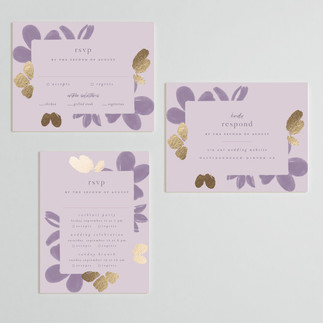
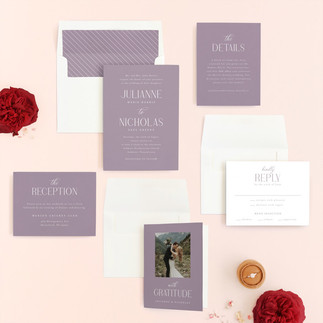
Here are some examples of soft and harder options based on the Tangled movie. I have based the selection examples on Rapunzel's violet dress, as well as the "sun drop flowers" that played a key part in the film. There are SO many options that can align with your theme while also aligning with your personality, wedding formality, and honoring your creativity!
Aladdin Wedding theme
There are a variety of directions you could go, a hard theme incorporating a gene in a bottle-shaped invitation, a magic carpet, or perhaps a bit softer by incorporating the turquoise in princess Jasmine's main outfit or the gold from many accents in the movie.
Destination Wedding theme
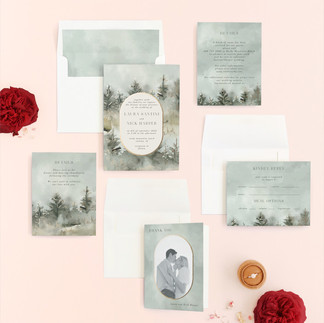
Whether a travel-inspired invitation or an invitation that highlights the location you are getting married, either can be a fun way to excite your guests about their upcoming travel. The examples shown below range from travel inspired, to landscape, to a simple seashell for an oceanside wedding.
If you are looking for more ideas or support be sure to follow me on Pinterest, Facebook, Instagram, and Amazon!
Happy Planning!!
Lynea D'Aprix
The Wedding Talk


